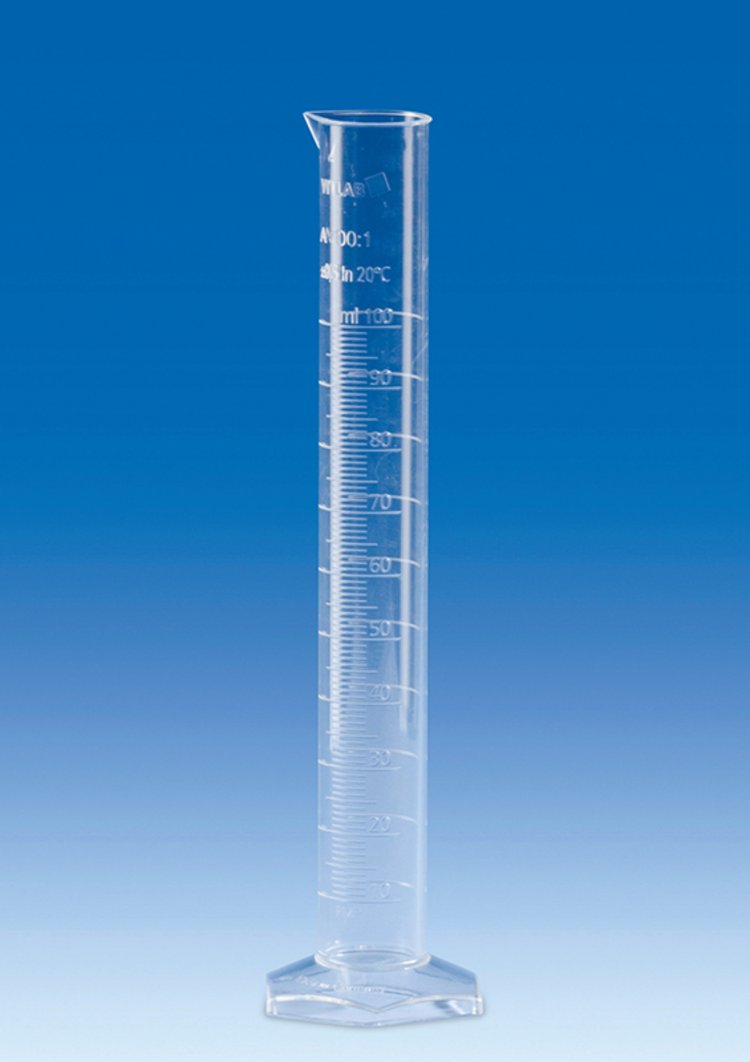
Graduated cylinders, PMP, Class A, tall form, molded graduations


Crystal clear. DE-M marked.
With molded graduations and ring marks at the primary scale points, calibrated ‘In’.
The lot certificate supplied bears the batch number and the actual nominal value ascertained under the test conditions. The resulting deviations from the nominal value fall well under the allowed tolerances of Class A according to DIN 12681 and ISO 6706.
With the laser engraved batch number and the year of manufacture.
Hexagonal base with bottom studs provides high stability.
Thermal stress up to 121 °C (autoclaving) does not cause tolerance limits to be permanently exceeded.
Also available with DAkkS calibration certificate or individual quality certificate.
Types / Sizes
| Volume ml | Tolerance ± ml | Graduation ml | Ø mm | Height mm | PU | Cat. No. |
|---|---|---|---|---|---|---|
| 10 | 0,10 | 0,20 | 15 | 145 | 2 | 64604 |
| 25 | 0,25 | 0,50 | 22 | 170 | 2 | 64704 |
| 50 | 0,50 | 1,00 | 27 | 200 | 2 | 64804 |
| 100 | 0,50 | 1,00 | 33 | 250 | 2 | 64904 |
| 250 | 1,00 | 2,00 | 44 | 315 | 2 | 65004 |
| 500 | 2,50 | 5,00 | 58 | 360 | 2 | 65104 |
| 1000 | 5,00 | 10,00 | 69 | 440 | 1 | 65204 |
| 2000 | 10,00 | 20,00 | 97 | 482 | 1 | 65304 |


